Passport와 JWT를 이용하여 Auth 구현하기[2]
이전 포스팅에서는 passport를 사용하여 자체 회원가입과 로그인을 구현해 보았다. 이제 소셜 로그인을 구현해 보자!
호기롭게도 현재 개발중인 앱의 로그인 스크린에는 카카오톡, 네이버, 페이스북 그리고 구글까지 4개의 소셜로그인 버튼이 생성되어 있다. 짜잔~
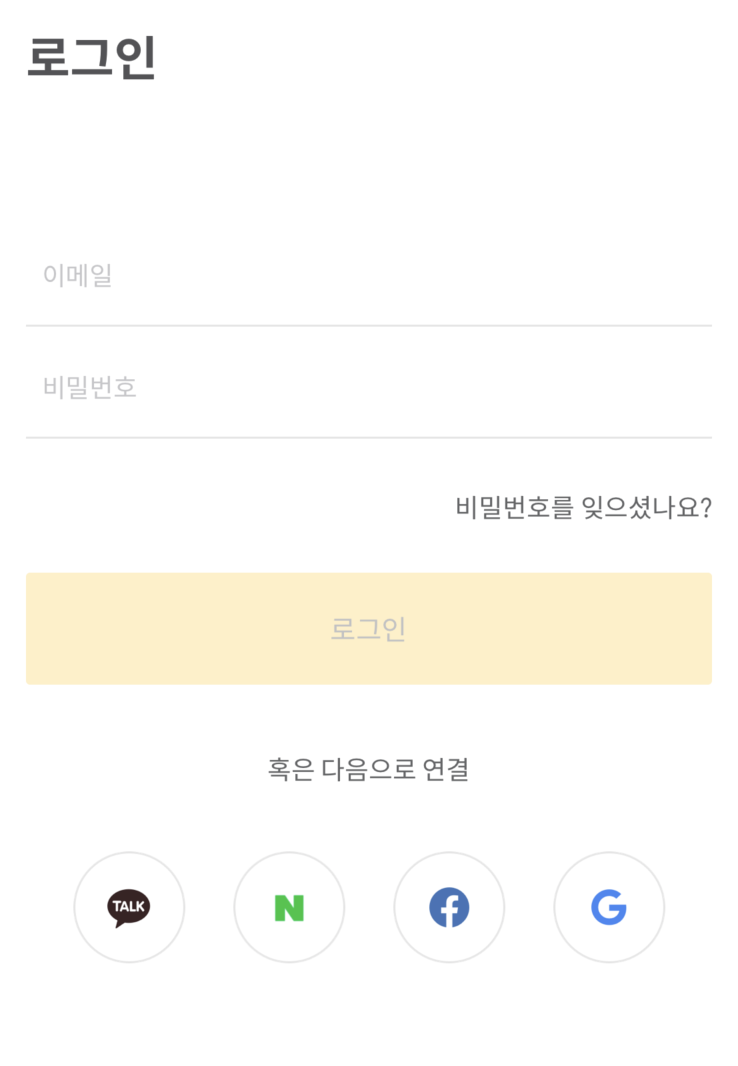
이 모든걸 Passport 모듈의 strategy를 써서 구현할 수 있다니! 게다가 대부분의 Strategy가 비슷한 방식으로 동작하기 때문에, 사실 하나만 잘 구현해 놓으면 다른건 거의 복붙 수준이다. 😎
소셜로그인
그렇다면 먼저 Facebook을 이용해서 구현해 보겠다.
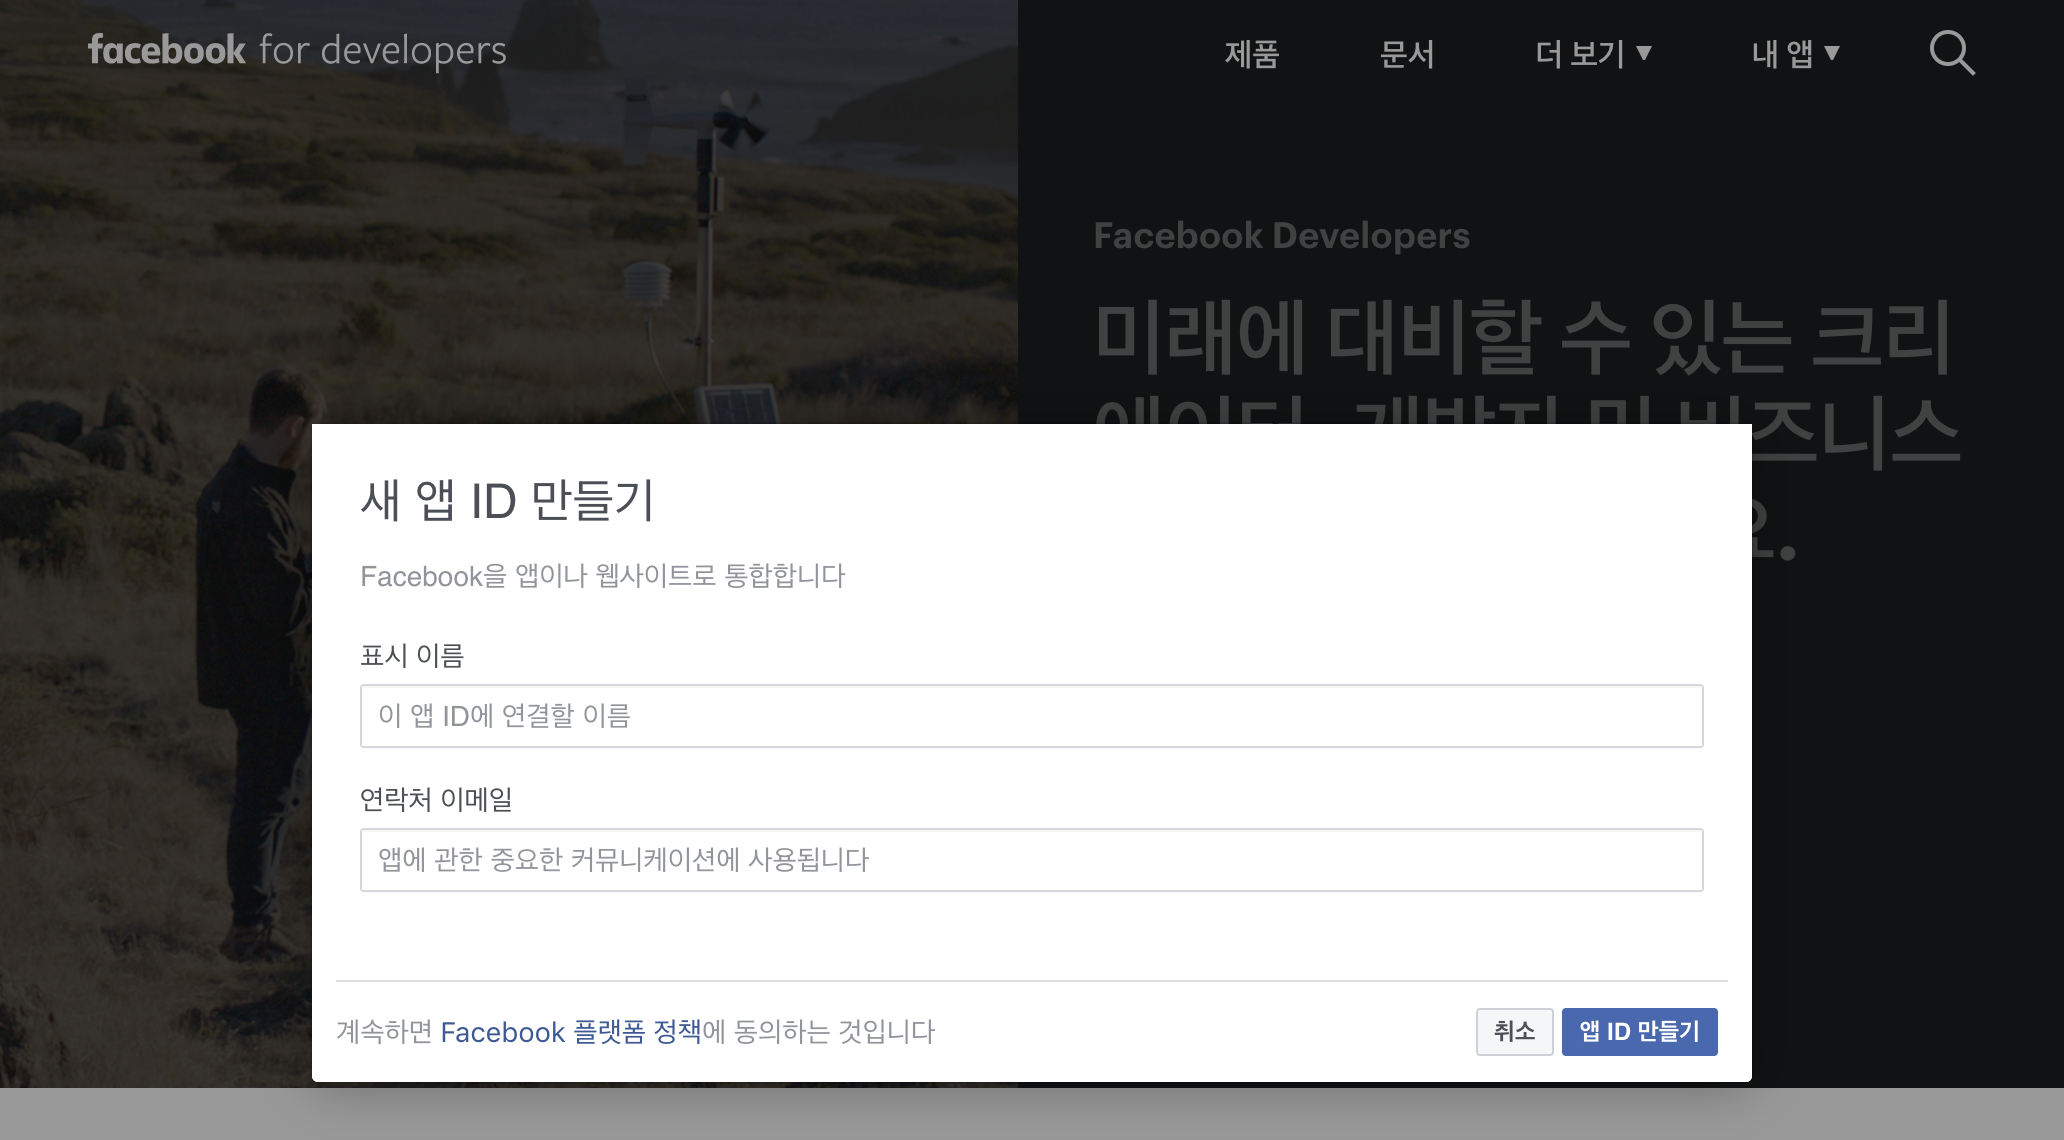
Facebook for Developers에 앱등록
먼저, 소셜로그인을 진행하기 위해서는 페이스북, 구글 등의 서드파티에 앱등록 하고 APP_ID와 APP_SECRET을 받아야 한다. Facebook의 경우 Facebook for Developers에 가입하고, 앱만들기를 통해 앱을 만들면 APP_ID와 APP_SECRET이 발급된다.
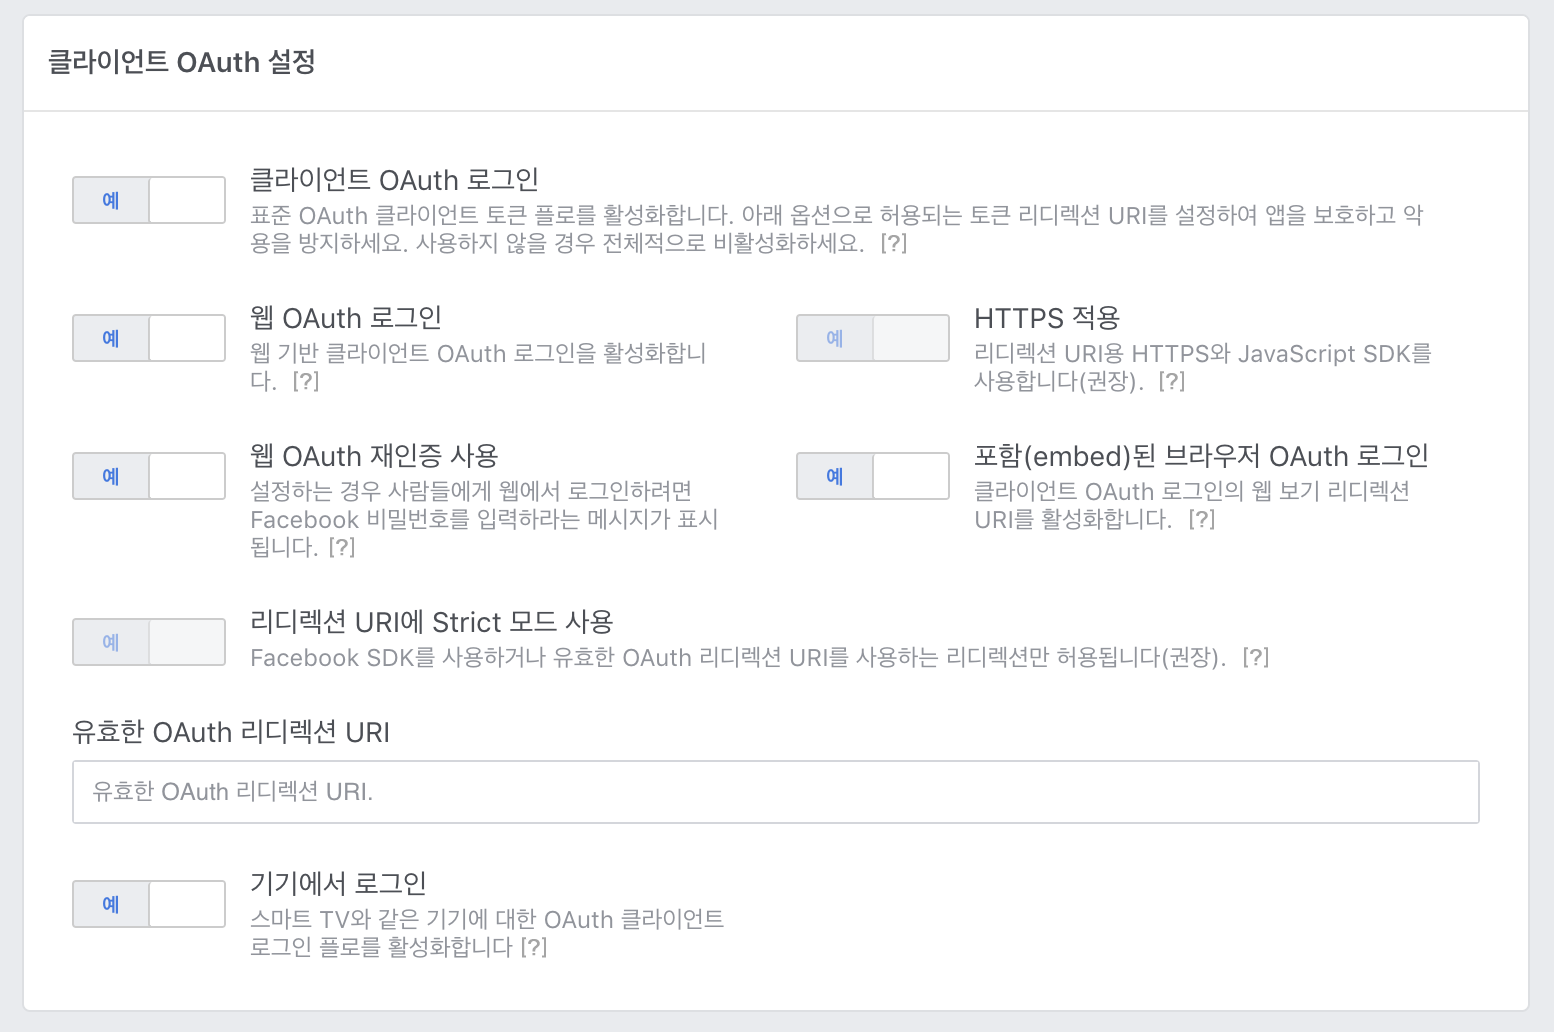
그리고 제품추가 버튼을 누르고 ‘Facebook 로그인’을 추가하고 활성화 해준다. 또한, 유효한 OAuth 리디렉션 URI, 는 승인 취소 URL은 서비스 URL/auth/facebook/callback을 입력해주면 된다. 다만, facebook의 경우 http://localhost 리디렉션은 개발 모드에 있는 동안 자동으로 허용되므로 여기에 추가하지 않아도 된다.
Passport 설치
passport-facebook 패키지를 설치한다. passport 웹페이지에서 다른 패키지들도 확인할 수 있다.
$ yarn add passport-facebook
auth 라우터 작성 및 app.js에 추가
소셜 로그인은 usersRouter가 아닌 authRouter를 쓸것이기 때문에 app.js 파일에 라우터를 등록해 주고, 라우터를 작성한다.
...
require("./module/passport");
...

app.use("/users", usersRouter);
app.use("/auth", authRouter);

module.exports = app;
소셜 로그인은 회원가입과 로그인 API를 따로 두지 않고, 회원가입이 되어있지 않으면 회원가입과 로그인을 동시에 처리하고, 회원가입이 되어있으면 로그인을 하는 방식으로 간단히 할 수 있다.
| 메서드 | 엔드포인트 | 역할 |
|---|---|---|
| GET | /auth/facebook |
회원가입 및 로그인 |
routers/auth.js 파일은 아래와 같이 callback에 대한 것도 작성해주어야 한다. /facebook로 들어온 로그인 요청은 passport 모듈을 통해 facebook 로그인 과정을 거쳐 user 정보를 담고 /facebook/callback으로 들어온다. 따라서 로그인 성공/실패 여부에 따른 response 작업은 /facebook/callback 컨트롤러 쪽에 작성해 줄 것이다.
const router = express.Router();
const controllers = require("../controllers");

router.get("/facebook", controllers.auth.facebook.get);
router.get("/facebook/callback", controllers.auth.facebook.callback.get);

module.exports = app;
auth 컨트롤러 작성
앞서 설명했듯이, 로그인 요청에 대한 resonse는 /facebook/callback에 작성하는데, 결국 이 부분은 모든 소셜로그인에서 동일하므로, socialLoginResponse()를 만들었다.
const jwt = require("jsonwebtoken");
const passport = require("passport");
require("dotenv").config();

const socialLoginResponse = (req, res, err, user) => {
  if (err) {
    return res.status(400);
  }
  if (!user) {
    return res.status(200).json({
      success: false
    });
  }
  req.login(user, { session: false }, err => {
    if (err) {
      res.send(err);
    }
    const token = jwt.sign({ id: user.social_id }, process.env.JWT_SECRET);
    return res.status(200).json({ userToken: token, success: true });
  });
};

module.exports = {
  facebook: {
    get: (req, res, next) => {
      passport.authenticate("facebook")(req, res, next);
    },
    callback: {
      get: (req, res, next) => {
        passport.authenticate("facebook", (err, user) =>
          socialLoginResponse(req, res, err, user)
        )(req, res, next);
      }
    }
  }
};
module 폴더 내 passport.js 작성
이전 포스팅에서 만들었던 /modules/passport.js 파일에 아래와 같이 Facebook passport 미들웨어를 추가한다.
clientID, clientSecret, callbackURL는 필수적으로 명시해 주어야 하며(kakao의 경우, clientSecret이 없으므로 삭제하거나, 빈 스트링으로 작성한다.), 로그인 결과로 accessToken, accessToken, profile이 전달된다. profile은 객체형태로, _json에 profileFields에 작성한 내용이 담겨져 온다. profile 예시는 아래와 같다.
{
  "id": "String",
  "username": "String",
  "displayName": "String",
  "name": {
    "familyName": "String",
    "givenName": "String",
    "middleName": "String"
  },
  "gender": "String",
  "profileUrl": "String",
  "provider": "facebook",
  "_raw": "{\"id\":\"string\",\"name\":\"string\"}",
  "_json": { "id": "String", "name": "String" }
}
...
const FacebookStrategy = require("passport-facebook").Strategy;
...

passport.use(
  "facebook",
  new FacebookStrategy(
    {
      clientID: process.env.FACEBOOK_APP_ID,
      clientSecret: process.env.FACEBOOK_APP_SECRET,
      callbackURL: "http://localhost:3000/auth/facebook/callback",
      session: false,
      profileFields: ["id", "displayName"]
    },
    (accessToken, refreshToken, profile, cb) => {
      let _profile = profile._json;
      let loginData = {
        name: _profile.name,
        social_id: _profile.id
      };
      return socialLogin(loginData, accessToken, "facebook", cb);
    }
  )
);
컨트롤러의 socialLoginResponse()와 마찬가지로, 모든 소셜로그인이 동일하게 수행해야 하는 로직을 socialLogin()으로 작성하였다.
앞서 언급했듯이, 소셜로그인은 회원가입과 로그인을 한번에 진행할 것이기 때문에 sequelize의 findOrCreate를 사용했다.
const socialLogin = (loginData, accessToken, social, cb) => {
  try {
    Users.findOrCreate({
      where: {
        social_id: loginData.social_id
      },
      defaults: {
        name: loginData.name,
        social_access_token: accessToken,
        provider: social
      }
    }).then(([user, created]) => {
      return cb(null, user);
    });
  } catch (err) {
    return cb(err, false);
  }
};
여기까지 하면 Facebook을 통한 소셜로그인 서버 로직은 완성되었다. google, kakao, naver도 동일하게 developer 사이트에 앱등록을 하고, 로직을 작성해 주면 된다.
관련 post
👩🏻💻 배우는 것을 즐기는 프론트엔드 개발자 입니다
부족한 블로그에 방문해 주셔서 감사합니다 🙇🏻♀️
in the process of becoming the best version of myself