React Native 링크 프리뷰 만들기
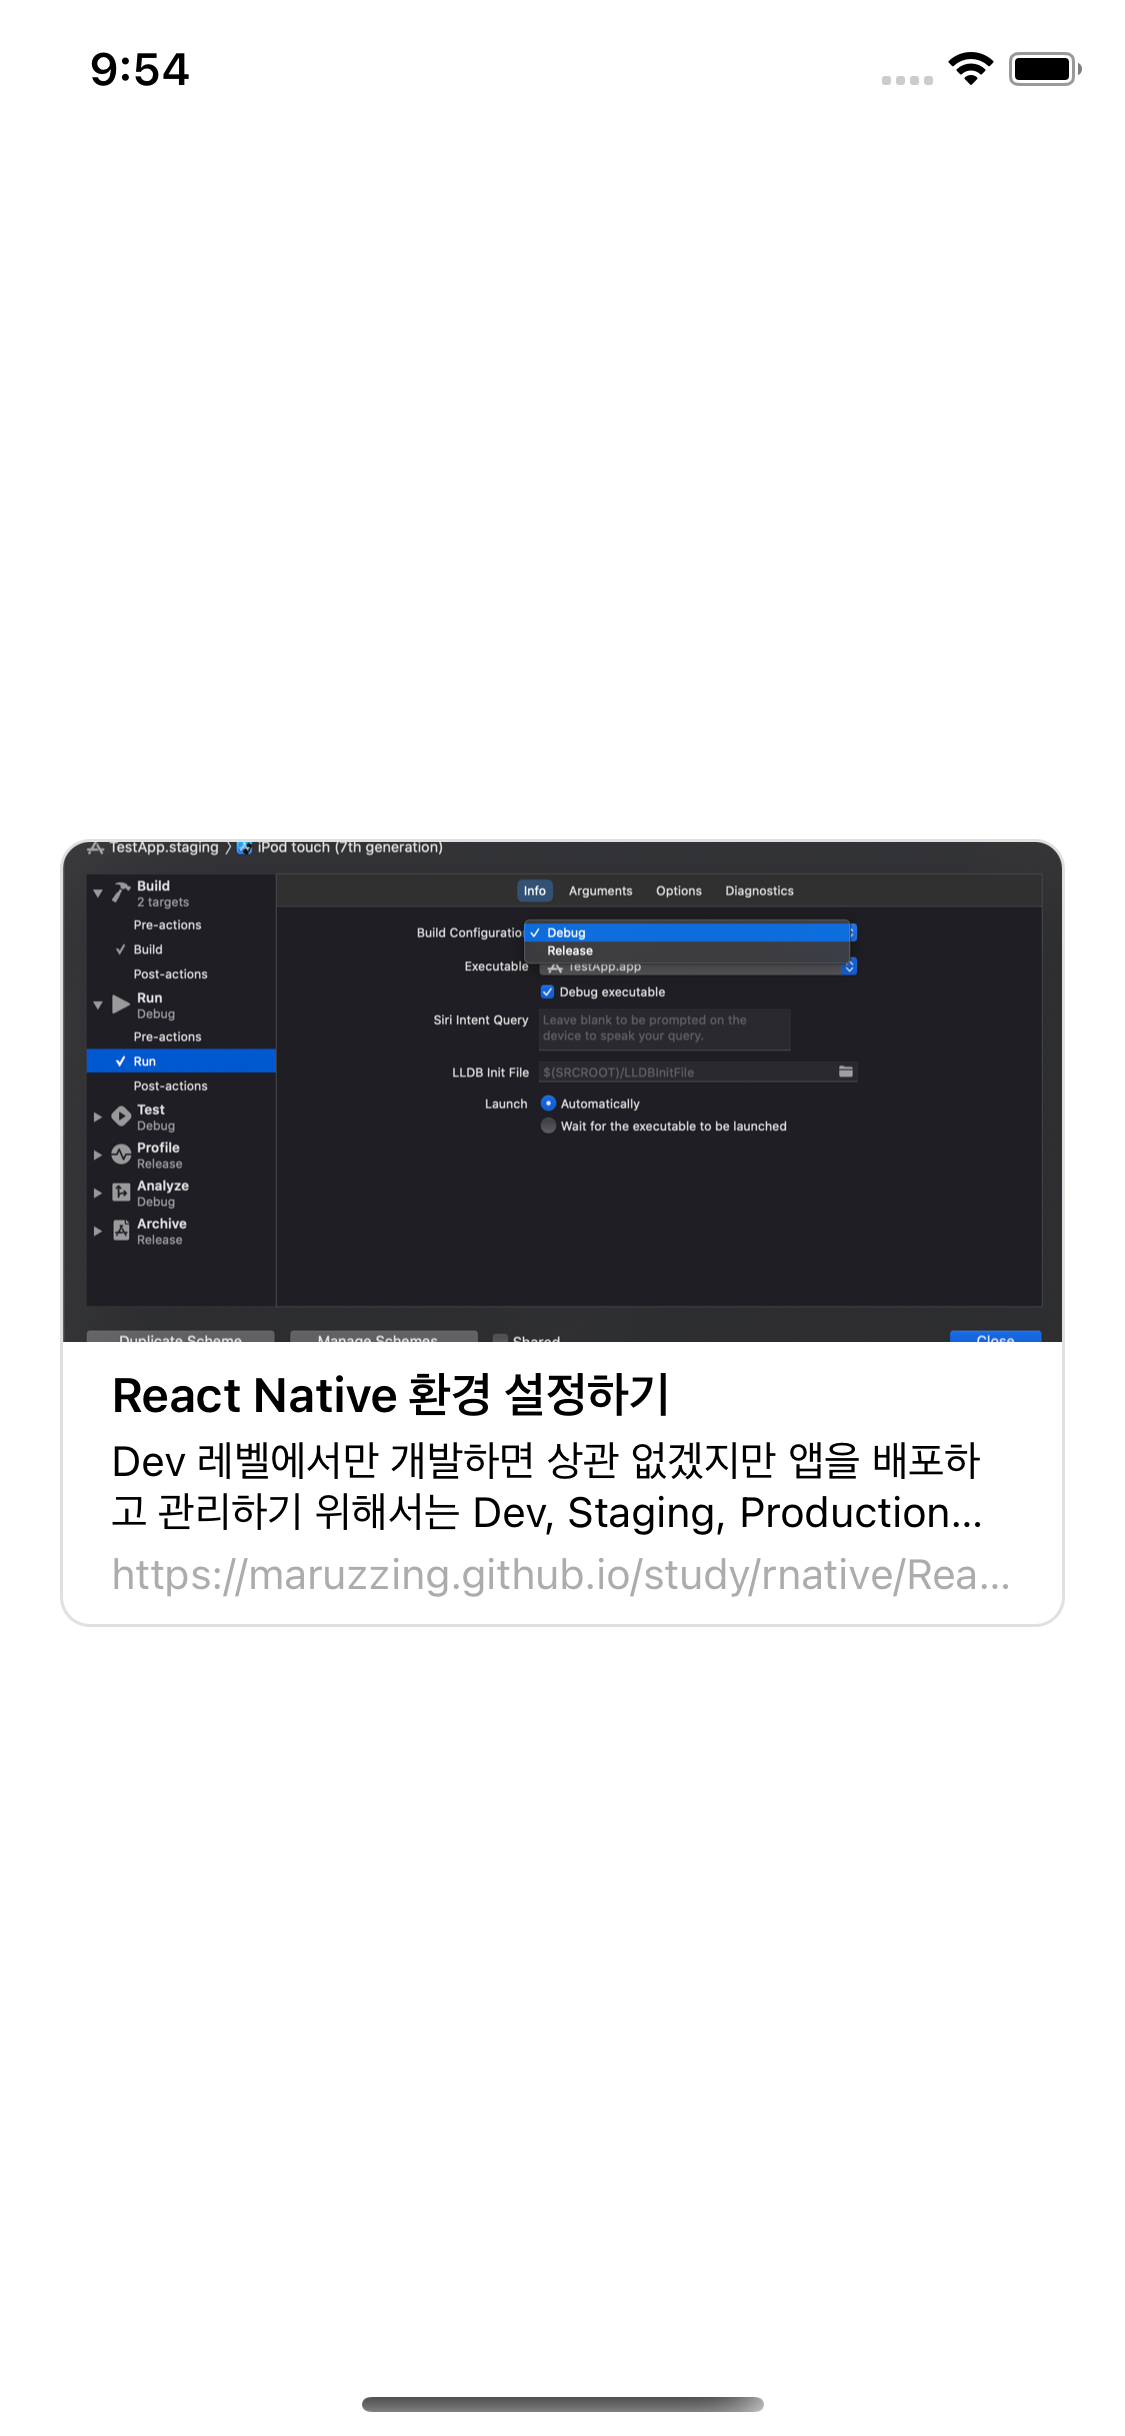
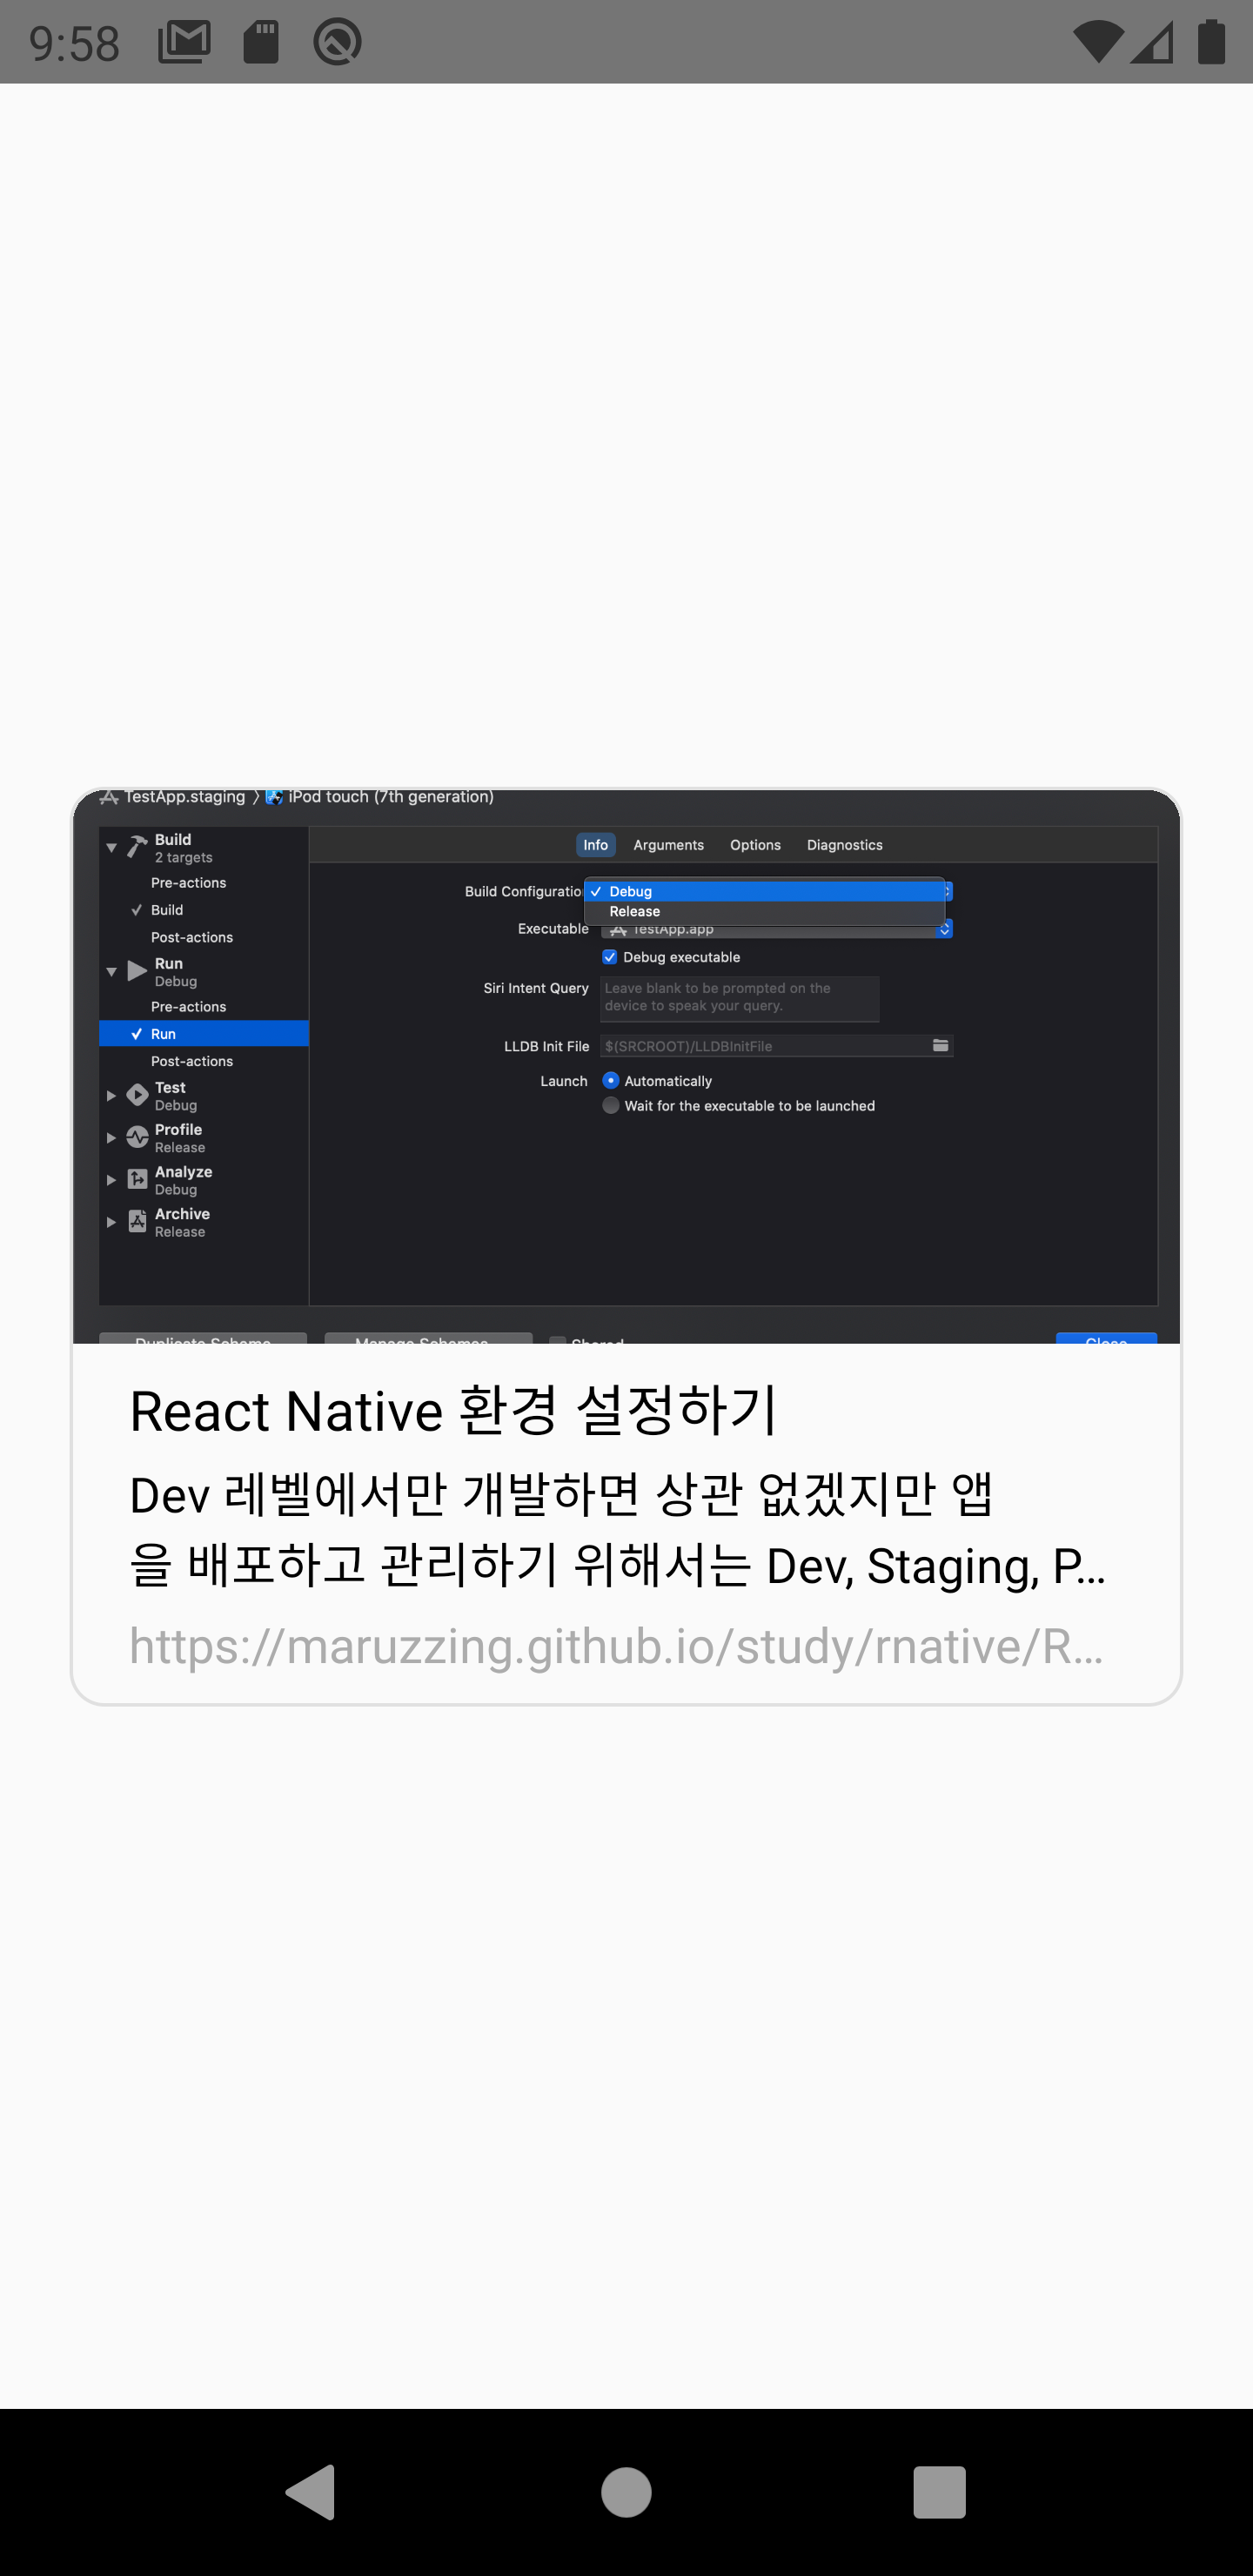
채팅방이나 트위터, 페이스북에 공유하고 싶은 웹페이지의 url을 많이 공유하는데, 이 때 url만 표기가 된다면 내용을 알기 어렵기 때문에 해당 페이지의 썸네일, 제목, 내용 등이 미리보기 형식으로 표시해 주는 것이 필요하다.
이 때 사용될 수 있는 기본적인 방법이 Open Graph Tag를 이용하는 것이다. 웹 페이지에 대한 간략한 정보를 Open Graph protocol에 따라 <head> 영역에 입력해 두면, 다른 서비스 에서는 이 정보를 읽어 미리보기 화면을 만들어 사용자 들에게 웹 페이지에 대한 공통적인 정보를 주는 것이다.
기본적인 Metadata는 아래와 같다.
<head>
......
<meta property="og:title" content="제목"/>
<meta property="og:type" content="데이터의 타입 (article, website, image...)"/>
<meta property="og:url" content="사이트 주소"/>
<meta property="og:description" content="데이터에 대한 설명"/>
<meta property="og:image" content="데이터의 썸네일/이미지 주소"/>
......
</head>
기본적으로, 전달하고자 하는 링크의 html을 가져와 og tag를 파싱한 후 og tag 정보로 미리보기 ui를 표현하면 된다. 따라서 html을 파싱하기만 하면 간단하게 구현할 수 있는데, 관련 라이브러리 중 react-native-cheerio 라이브러리를 사용해 보았다. 하지만 라이브러리를 사용하는데 로드가 많이 걸려서 다른 방법을 찾아 보다가 정규표현식으로도 html 파싱을 구현해 보았다.
react-native-cheerio 라이브러리 사용
npm i react-native-cheerio
react-native-cheerio의 사용법은 간단한데,
우선cheerio.load 메서드를 사용해 html을 파싱한다. 그리고 “og:title”이라는 property를 가진 meta tag의 content 속성값을 가지고 오는 것은 아래와 같이 표현할 수 있다.
const cheerio = require('react-native-cheerio');
const $ = cheerio.load(html);
const content = $(`meta[property="og:title"]`).attr('content');
og:title, og:description, og:image, og.url 값을 파싱하는 코드는 아래와 같이 작성할 수 있다.
...
import axios from 'axios';
const cheerio = require('react-native-cheerio');

const fetchHtml = async (link: string) => {
    return await axios.get(link);
};

const parseHtml = (html: string) => {
    const properties = ['title', 'description', 'image', 'url'];
    const meta: MetaData = {};
    const cheerio = require('react-native-cheerio');
    const $ = cheerio.load(html);
    properties.forEach((p) => {
        const content = $(`meta[property="og:${p}"]`).attr('content');
        if (content) {
          meta[p] = content;
        }
    });
    return meta;
};

const findOGTags = async (link:string) => {
    try{
      const {data} = await fetchHtml(url);
      const meta = await parseHtml(data);
    }catch(e){
      console.log(e);
    }
}
정규표현식 사용
위의 코드에서 parseHtml 부분만 변형하여 정규표현식을 사용한 코드는 아래와 같이 작성할 수 있다.
const parseHtml = (html: string) => {
    const metaTagOGRegex = /<meta[^>]*(?:property=[ '"]*og:([^'"]*))?[^>]*(?:content=["]([^"]*)["])?[^>]*>/gi;
    const matches = html.match(metaTagOGRegex);
    const meta: MetaData = {};

    if (matches) {
        const metaPropertyRegex = /<meta[^>]*property=[ "]*og:([^"]*)[^>]*>/i;
        const metaContentRegex = /<meta[^>]*content=[ "]([^"]*)[^>]*>/i;
        matches.forEach((m) => {
            const propertyMatch = metaPropertyRegex.exec(m);
            if (propertyMatch) {
                const property = metaPropertyRegex.exec(propertyMatch[0]);
                const content = metaContentRegex.exec(propertyMatch[0]);
                if (property && content) {
                    meta[property[1]] = content[1];
                }
            }
        });
    }
    return meta;
}
위의 코드에서 얻은 meta data를 활용하여 원하는 대로 미리보기 ui 뷰를 그려줄 수 있다.


👩🏻💻 배우는 것을 즐기는 프론트엔드 개발자 입니다
부족한 블로그에 방문해 주셔서 감사합니다 🙇🏻♀️
in the process of becoming the best version of myself