Swift에서 Codable 사용하기

대부분의 앱 서비스는 네트워크 통신을 사용해 원격 서버에서 데이터를 가져와 사용하며, 이 데이터는 일반적으로 JSON 형식입니다.
자바스크립트는 약한 타입 언어이므로 JSON 데이터가 자바스크립트 객체로 쉽게 디코딩 되지만 Swift는 강력한 타입 시스템이기 때문에 JSON 형식의 데이터를 다루기가 쉽지 않습니다.
다행히도 Swift4 부터 Codable 프로토콜co을 이용해 단 한줄로 간편하게 JSON 데이터 파싱을 할 수 있게 되었습니다.
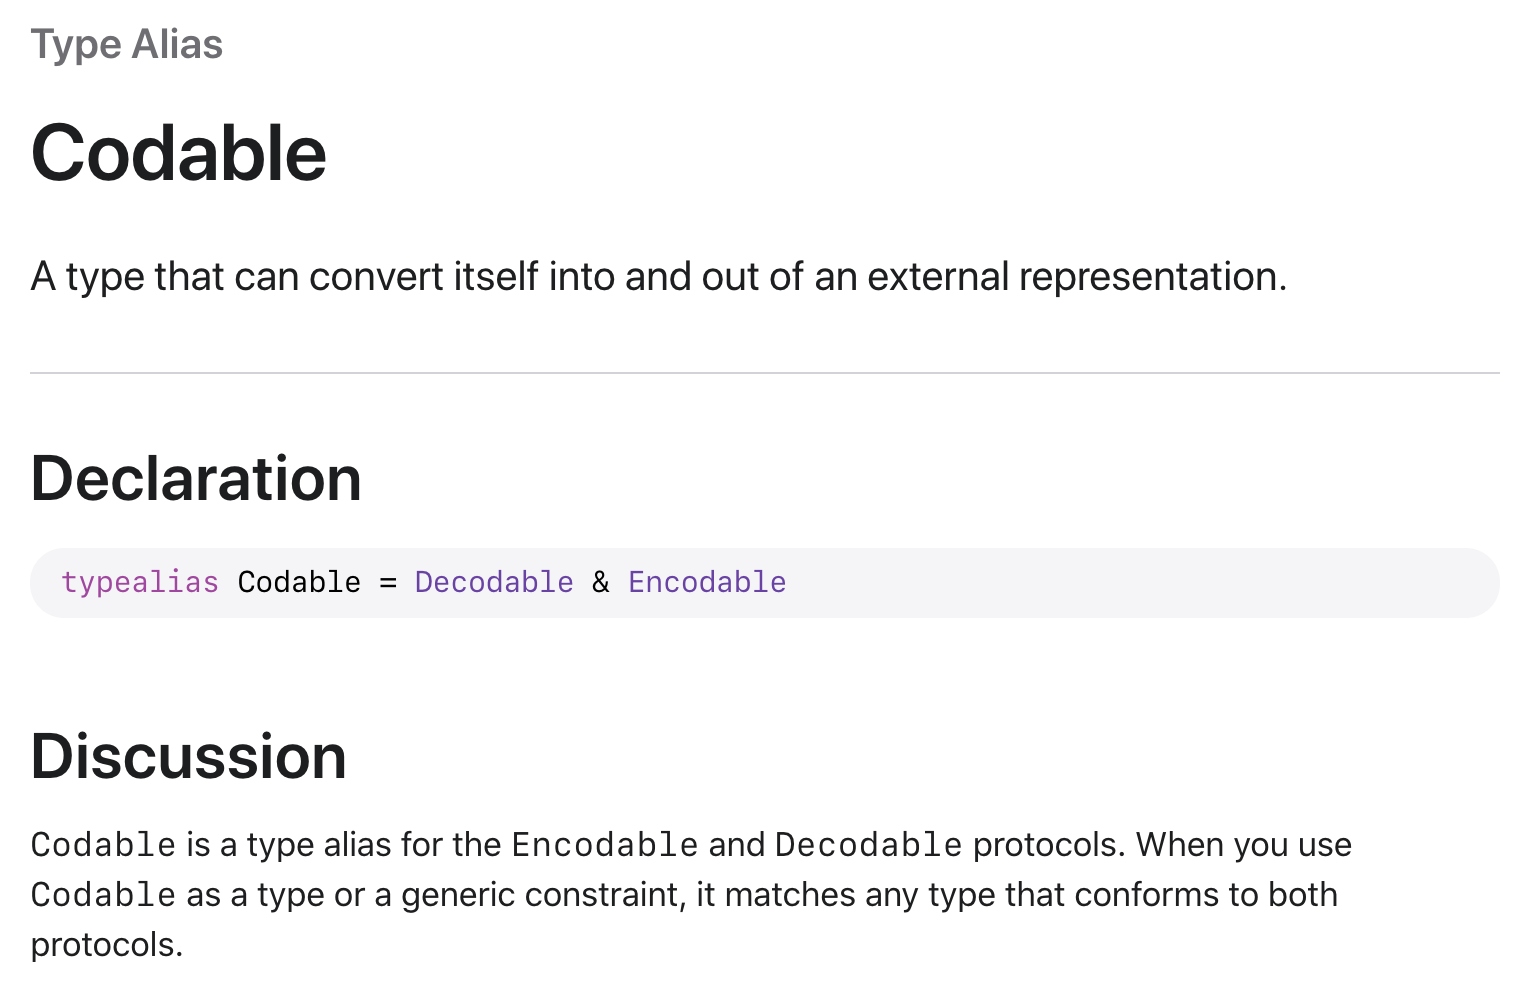
Codable

공식 문서에 따르면 Codable 은 자신을 외부 표현으로 변환(Encode)하거나 외부 표현으로 부터 변환(Decode) 할 수 있는 타입으로, Encodable & Decodable로 구성된 유니온 타입(union type)으로 정의할 수 있습니다.
Codable은 프로토콜 이기 때문에 채택하여 사용하는데, class, struct, enum에 채택 가능합니다.
즉, Codable을 채택했다는 것은 class, struct, enum을 serialize / deserialize할 수 있다는 것을 의미하기도 합니다.
그럼, 아주 간단한 struct 하나를 정의해 보겠습니다.
struct Track {
    let title: String
    let artistName: String
    let isStreamable: Bool
}
정의한 struct에 Codable을 채택해 봅니다.
struct Track: Codable {
    let title: String
    let artistName: String
    let isStreamable: Bool
}
Encoding
이제 이 struct의 인스턴스를 JSONEncoder를 이용하여 Data로 인코딩 해 보겠습니다.
let sampleInput = Track(title: "New Rules", artistName: "Dua Lipa", isStreamable: true)

do {
    let encoder = JSONEncoder()
    let data = try encoder.encode(sampleInput)
    print(data) // 65 Bytes
} catch {
    print(error)
}
위의 data는 변환된 JSON data 이므로 byte 값이 프린트 됩니다. 이를 String 형태로 변환해 봅시다.
do {
    let encoder = JSONEncoder()
    let data = try encoder.encode(sampleInput)
    if let jsonString = String(data: data, encoding: .utf8) {
      print(jsonString) // {"title":"New Rules","isStreamable":true,"artistName":"Dua Lipa"}
    }
} catch {
    print(error)
}
JSON String이 잘 출력되는 것을 확인할 수 있습니다. 기본적으로 JSON Encoder는 객체를 단일행 JSON 구조로 인코딩 하는데 OutputFormatting 설정을 추가하여 출력에 줄 바꿈과 탭을 삽입하거나, key를 정렬하여 가독성을 높이도록 JSON Encoder를 구성할 수 있습니다.
// 줄바꿈과 들여쓰기 삽입
encoder.outputFormatting = .prettyPrinted

// 키 정렬 (사전순)
encoder.outputFormatting = .sortedKeys

// 두 가지 설정을 함께 쓰는 경우
encoder.outputFormatting = [.sortedKeys, .prettyPrinted]


// 출력 예시
{
  "artistName" : "Dua Lipa",
  "isStreamable" : true,
  "title" : "New Rules"
}
Decoding
decoding 역시 JSONDecoder를 이용해 간단하게 구현이 가능합니다.
let jsonData = """
{
  "artistName" : "Dua Lipa",
  "isStreamable" : true,
  "title" : "New Rules"
}
""".data(using: .utf8)!


do {
    let decoder = JSONDecoder()
    let data = try decoder.decode(Track.self, from: jsonData)
    print(data) // Track(title: "New Rules", artistName: "Dua Lipa", isStreamable: true)
    print(data.title) // New Rules
} catch {
    print(error)
}
정말 간단하죠? 그럼 실제로 적용하면서 마주할 수 있는 다양한 경우와 해결 방법에 대해 알아보겠습니다.
Nullable & Optional Key
특정 필드의 값이 nullable 하거나, optional 한 키의 경우 아래와 같이 struct을 정의할 수 있습니다.
struct Track: Codable {
    let title: String
    let artistName: String
    let isStreamable: Bool?
}
만약, 위의 경우에서 값이 없는 경우 기본 값을 할당하고 싶을 때는 아래 처럼 작성할 수 있습니다.
struct Track: Codable {
    let title: String
    let artistName: String
    let isStreamable: Bool = true
}
Customizing Key Names
api 응답 데이터가 스네이크 케이스(snake_case)를 사용하는 경우 Swift 이름 정의 규칙에 부합하지 않습니다. 이와 같이 키를 커스텀하고 싶을때 CodingKeys를 이용합니다.

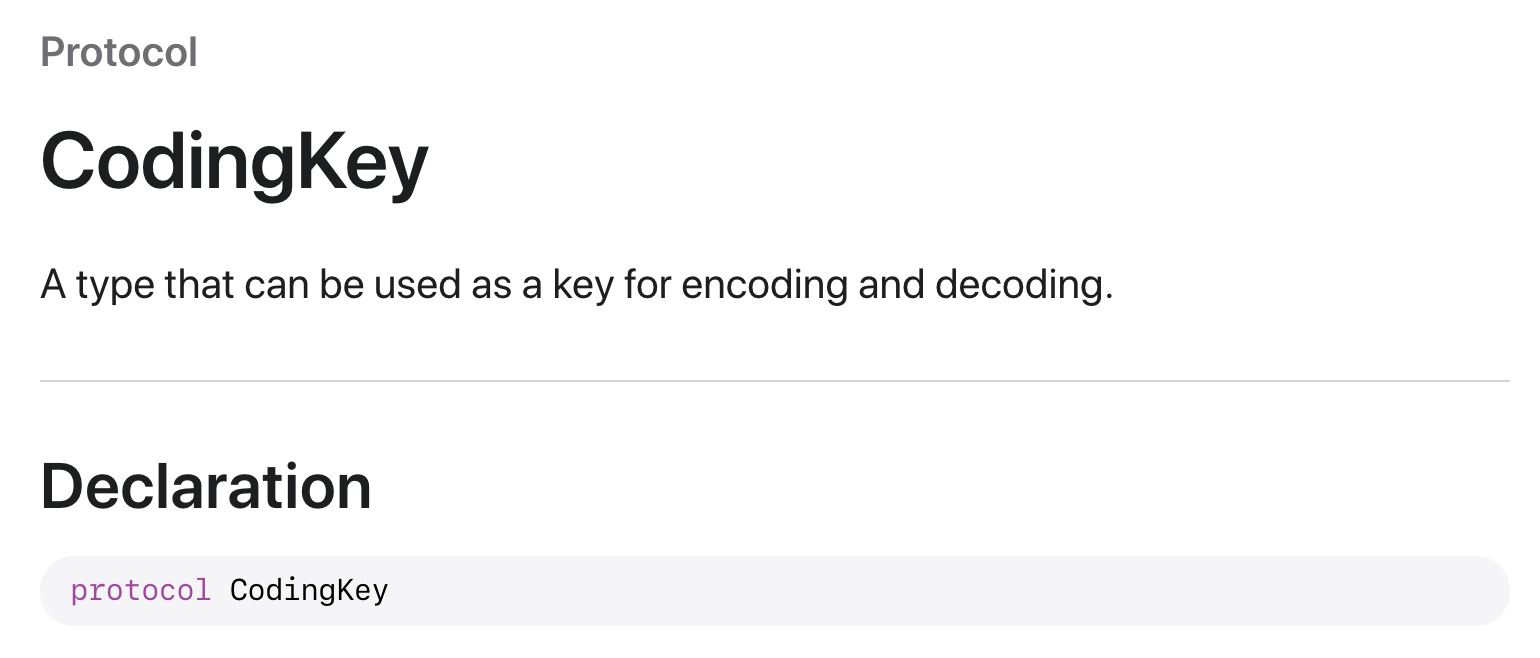
CodingKey는 Codable과 마찬가지로 Protocol로, 인코딩 / 디코딩을 위한 키로 사용할 수 있는 타입입니다.
JSON 데이터의 key와, 사용하고자 하는 key가 매핑될 수 있도록 CodingKey를 채택한 enum을 작성해 줍니다.
struct Track: Codable {
    let title: String
    let artistName: String
    let isStreamable: Bool

    enum CodingKeys: String, CodingKey {
        case title = "track_name"
        case artistName = "artist_name"
        case isStreamable = "is_streamable"
    }
}
Handling Dates
JSON에는 날짜를 나타내는 데이터 유형이 없으므로 클라이언트와 서버가 동의한 형식(일반적으로 ISO 8601)으로 시리얼라이즈 하게 됩니다.
struct Track: Codable {
    let title: String
    let artistName: String
    let isStreamable: Bool
    let releaseDate: Date
}

let jsonData = """
{
  "artistName" : "Dua Lipa",
  "isStreamable" : true,
  "title" : "New Rules",
  "releaseDate": "2017-06-02T12:00:00Z"
}
""".data(using: .utf8)!

do {
    let decoder = JSONDecoder()
    let data = try decoder.decode(Track.self, from: jsonData)
    print(data)
    print(data.releaseDate)
} catch {
    print(error)
}

// error
// typeMismatch(Swift.Double, Swift.DecodingError.Context(codingPath: [CodingKeys(stringValue: "releaseDate", intValue: nil)], debugDescription: "Expected to decode Double but found a string/data instead.", underlyingError: nil))
앞에서 정의한 Track 구조에 Date 타입의 releaseDate을 추가로 정의하고 디코드 해보면 “typeMismatch”에러가 발생합니다.
decoder.dateDecodingStrategy = .iso8601
decoder에 DateDecodingStrategy를 정의해 주면 시리얼라이즈 날짜가 date 형태로 잘 변환됩니다.
Wrapper Keys
api 응답이 아래와 같이 Wrapper Key를 포함하는 경우,
{
  "resultCount": Int,
  "results": [Track]
}
응답에 대한 새로운 타입을 만들어 줍니다.
struct Response: Codable {
    let resultCount: Int
    let results: [Track]
}

struct Track: Codable {
    let title: String
    let artistName: String
    let isStreamable: Bool
}

let jsonData = """
{
  "resultCount": 50,
  "results": [{
    "artistName" : "Dua Lipa",
    "isStreamable" : true,
    "title" : "New Rules"
  }]
}
""".data(using: .utf8)!

do {
    let decoder = JSONDecoder()
    let data = try decoder.decode(Response.self, from: jsonData)
    print(data.results[0]) // Track(title: "New Rules", artistName: "Dua Lipa", isStreamable: true)
} catch {
    print(error)
}
Root Level Arrays
만약 api 응답이 루트 엘리먼트로 배열을 가진다면 아래와 같이 decoding 할 수 있습니다.
struct Track: Codable {
    let title: String
    let artistName: String
    let isStreamable: Bool
}

let jsonData = """
[{
    "artistName" : "Dua Lipa",
    "isStreamable" : true,
    "title" : "New Rules"
}]
""".data(using: .utf8)!

do {
    let decoder = JSONDecoder()
    let data = try decoder.decode([Track].self, from: jsonData)
    print(data[0]) // Track(title: "New Rules", artistName: "Dua Lipa", isStreamable: true)
} catch {
    print(error)
}
Decode type as Enum
struct Track: Codable {
    let title: String
    let artistName: String
    let isStreamable: Bool
    let primaryGenreName: Genre
}

enum Genre: String, Codable {
    case Pop
    case KPop = "K-Pop"
    case Rock
    case Classical
    case HipHop = "Hip-Hop"
}

let jsonData = """
{
  "artistName" : "Dua Lipa",
  "isStreamable" : true,
  "title" : "New Rules",
  "primaryGenreName": "Pop"
}
""".data(using: .utf8)!

do {
    let decoder = JSONDecoder()
    let data = try decoder.decode(Track.self, from: jsonData)
    print(data)
    print(data.primaryGenreName) // Pop
} catch {
    print(error)
}
위의 예제처럼 Track 구조의 primaryGenreName이 Genre 열거형에서 하나의 값을 가지는 경우 enum에도 Codable을 적용하면 그대로 타입을 적용할 수 있습니다.
만약, enum에서 정의하지 않은 케이스가 있는 경우, 아래와 같이 같이 Unknown 을 추가로 선언하고, init(from:)을 구현하여 일치하는 값이 없는 경우 Unknown 으로 매핑시켜 주어 오류를 방지할 수 있습니다.
enum Genre: String, Codable {
    case Pop
    case KPop = "K-Pop"
    case Rock
    case Classical
    case HipHop = "Hip-Hop"
    case Unknown

    init(from decoder: Decoder) throws {
      self = try Genre(rawValue: decoder.singleValueContainer().decode(RawValue.self)) ?? .Unknown
   }
}
Decoding nested JSON data into a single struct
종종 api 응답이 깊이 중첩된 구조로 클라이언트에서 사용하기 불편한 상황이 있을 수 있는데요, 이렇게 api 응답 데이터의 구조를 바꾸고 싶은 경우, Decodable / Encodable 프로토콜을 커스텀 할 수 있습니다.
아래와 같은 JSON 데이터를
{
  "artistName": "Dua Lipa",
  "isStreamable": true,
  "title": "New Rules",
  "collection": {
    "name": "Dua Lipa (Deluxe)",
    "price": 11.99
  }
}
아래와 같은 구조체로 디코딩 하는 방법을 알아보겠습니다.
struct Track {
  "artistName": String,
  "title": String,
  "isStreamable": Bool,
  "collectionName": String,
  "collectionPrice": Double
}
먼저 Track 구조체로 병합하려는 JSON 개체의 열거형을 정의합니다. 중첩된 키가 여러개라면 열거형도 그 만큼 추가로 정의해 주면 됩니다.
struct Track {
    let title: String
    let artistName: String
    let isStreamable: Bool
    let collectionName: String
    let collectionPrice: Double

    enum CodingKeys: String, CodingKey {
        case title, artistName, isStreamable
        case collectionInfo = "collection"
    }

    enum CollectionKeys: String, CodingKey {
        case name
        case price
    }
}
이제 Decodable 프로토콜을 init(from:을 사용하여 커스텀 해 줍니다.
extension Track: Decodable {
    init(from decoder: Decoder) throws {
        let container = try decoder.container(keyedBy: CodingKeys.self)
        self.title = try container.decode(String.self, forKey: .title)
        self.artistName = try container.decode(String.self, forKey: .artistName)
        self.isStreamable = try container.decode(Bool.self, forKey: .isStreamable)
        let collectionInfo = try container.nestedContainer(keyedBy: CollectionKeys.self, forKey: .collectionInfo)
        self.collectionName = try collectionInfo.decode(String.self, forKey: .name)
        self.collectionPrice = try collectionInfo.decode(Double.self, forKey: .price)
    }
}
아래 코드를 이용하여 CodingKeys 열거형의 키를 사용하는 컨테이너를 추출하며,
let values = try decoder.container(keyedBy: CodingKeys.self)
여기에서 추출된 컨테이너에서 nestedContainer를 사용하여 아래와 같이 중첩된 컨테이너를 추출할 수 있습니다.
let collectionInfo = try decoder.nestedContainer(keyedBy: CollectionKeys.self, forKey: .collectionInfo)
Encoding a struct into nested JSON data
반대로 구조체를 중첩된 JSON 데이터로 변환해 보겠습니다.
디코딩 할 때와 반대로 컨테이너에 값을 인코딩 해주면 됩니다. 이 때 컨테이너는 변경할 수 있는 mutable 프로퍼티 이므로 var로 선언해 줍니다.
extension Track: Encodable {
    func encode(to encoder: Encoder) throws {
        var container = encoder.container(keyedBy: CodingKeys.self)
        var collectionInfo = container.nestedContainer(keyedBy: CollectionKeys.self,
                                                       forKey: .collectionInfo)
        try container.encode(title, forKey: .title)
        try container.encode(artistName, forKey: .artistName)
        try container.encode(isStreamable, forKey: .isStreamable)
        try container.encode(title, forKey: .title)
        try collectionInfo.encode(collectionName, forKey: .name)
        try collectionInfo.encode(collectionPrice, forKey: .price)
    }
}
👩🏻💻 배우는 것을 즐기는 프론트엔드 개발자 입니다
부족한 블로그에 방문해 주셔서 감사합니다 🙇🏻♀️
in the process of becoming the best version of myself